Setting Up Rstudio Server
28 Apr 2015Getting Started
As usual, the first thing we’ll need to do is boot up a stock image.
When I setup my Jekyll environment, I happened to use an ubuntu image as my starting point. I’m really not interested in going into the mostly political and opinionated argument over which is better – let’s just say that there are times when each is better. Centos is generally preferred for locked down enterprise ready headless server environments while ubuntu tends to be preferred by developes as their desktop environment. As a result, you’ll likely find sysadmins and ops professionals on one side of the argument and application developers on the other side.
Today I’m going to use a centos image as my starting point – not because it’s necessarily better, but partly because I have a feeling it’s more suited to this particular use case (a mostly headless server that I won’t actually log into often) and also because I don’t want to fall into the trap of using Ubuntu for everything and forgetting how to do anything in a non debian based environment.
vagrant init centos-66 http://opscode-vm-bento.s3.amazonaws.com/vagrant/virtualbox/opscode_centos-6.6_chef-provisionerless.box
vagrant up
vagrant ssh
Manually Provision it with Rstudio Server
Here I’m just following the instructions provided by RStudio, but first I had to install the EPEL repository.
sudo su
yum -y install epel-release
yum -y install R
yum -y install openssl098e
export RSTUDIO_SERVER_VERSION=`curl http://download2.rstudio.org/current.ver`
curl -O http://download2.rstudio.org/rstudio-server-${RSTUDIO_SERVER_VERSION}-x86_64.rpm
yum -y install --nogpgcheck rstudio-server-${RSTUDIO_SERVER_VERSION}-x86_64.rpm
rm rstudio-server-${RSTUDIO_SERVER_VERSION}-x86_64.rpm
exit
Note, I added some custom logic to grab the current version rather than the one that was listed in the documentation at the time of this writing. This might not be the best idea since, when it comes to reproducible environments, grabbing the latest version is actually a bad practice.
Testing the Installation
Before I could navigate to the new server from my local browser, I had to configure vagrant to either forward port 8787 to a port on my localhost or tie the box to a public or private static ip. For now I just uncommented out the private static ip configuration line in the vagrant file and then stopped and restarted the server.
Uncomment the following in Vagrantfile
config.vm.network "private_network", ip: "192.168.33.10"
Restart the Virtual Server
vagrant halt
vagrant up
Open the webui in your browser
Now I just open the url http://192.168.33.10:8787 in my browser:
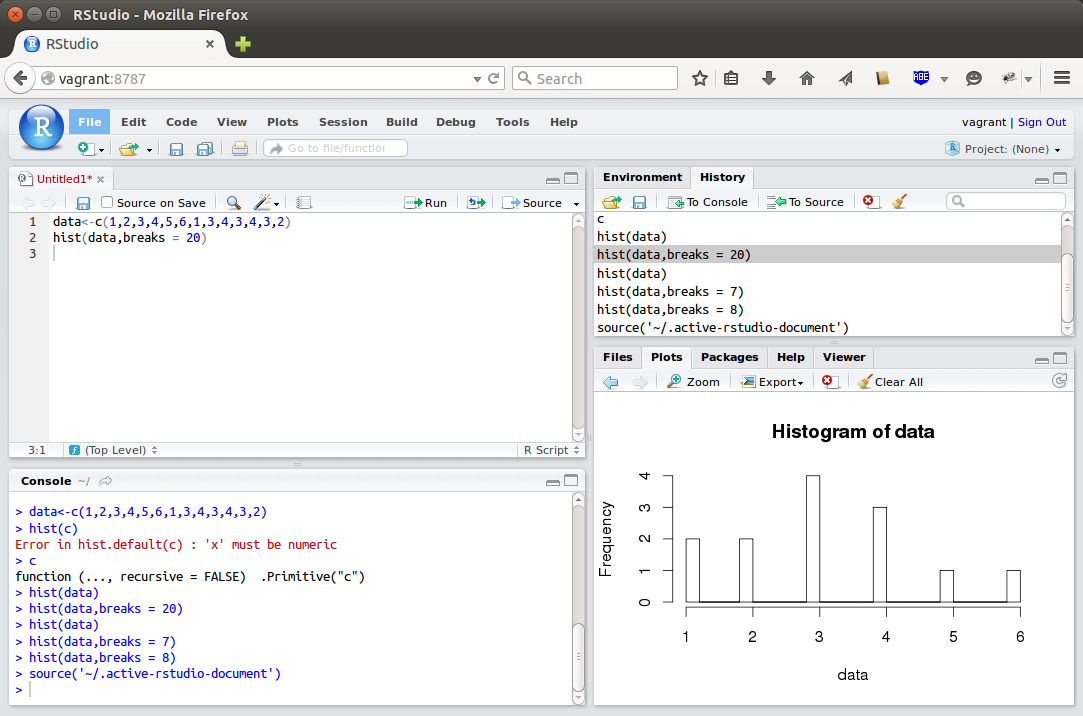
Wow, it actually works pretty much the same as running Rstudio locally! I’m impressed. Even code assists work. Who new webkit was this sophisticated – and even works well from firefox! As you can see, I didn’t do anything complicated, just kicked the tires.
To log in I used vagrants standard userid and password (vagrant and vagrant). Apparently Rstudio server the underlying systems password authentication for authenticating users, so if you want to add users or if users want to change their passwords, they can use the standard shell to do so (passwords can also be changed via an R function in the webui).
Automate It!
Now all we need to do to make the above work repeatable is move all of our manual steps from above into a provision.sh script in the same directory as our Vagrantfile and add a line to the vagrant file to call it the first time our box is booted up:
Create provision.sh
Create a file called provision.sh and add the following (everything we did above between sudo su and exit, vagrant will execute this script as root).
yum -y install epel-release
yum -y install R
yum -y install openssl098e
export RSTUDIO_SERVER_VERSION=`curl http://download2.rstudio.org/current.ver`
curl -O http://download2.rstudio.org/rstudio-server-${RSTUDIO_SERVER_VERSION}-x86_64.rpm
yum -y install --nogpgcheck rstudio-server-${RSTUDIO_SERVER_VERSION}-x86_64.rpm
rm rstudio-server-${RSTUDIO_SERVER_VERSION}-x86_64.rpm
In retrospect, I probably should have included
-sor--silentin the curl commands. The progress bar produces a lot of output.
Add the following to Vagrantfile
config.vm.provision "shell", path: "provision.sh"
Using It
Like I said above, all I’ve really done so far is kick the tires a bit. I’m sure I’ll need to make a few changes as I actually use the environment like adding some common R packages and creating a shared directory so I can easily save my work under source control locally. The provisioning step also takes a bit of time for this image, I have a feeling I’ll quickly want to bake this into a workflow that involves packaging that initial provisioned image into a snapshot and then starting from there as a base image each time I want a fresh environment.
This is a promising start though!